# Getting started
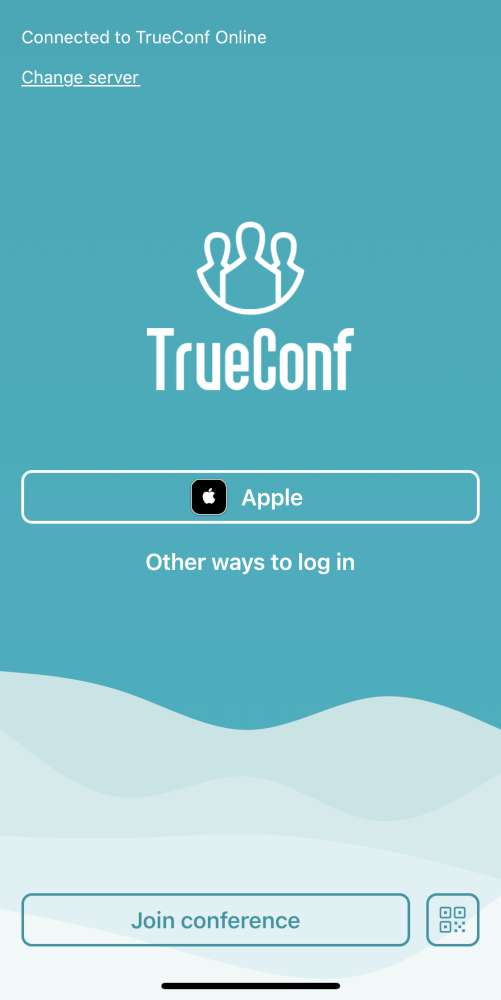
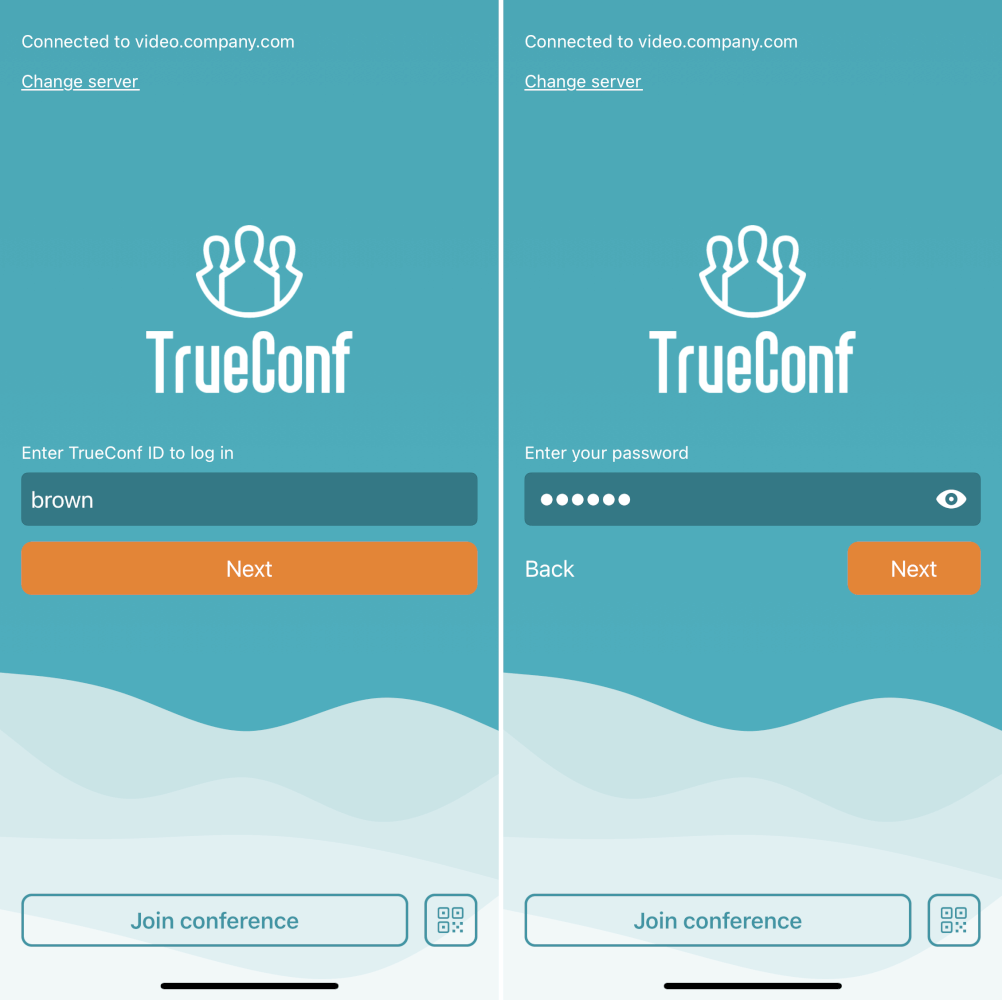
When the application is run for the first time, you will see the authorization screen where you will be able to:
Change server (by default, the application automatically connects to TrueConf Online cloud-based service.
Sign in to the cloud service with your Apple ID or other social network accounts (social network icons will be displayed if you tap on the Other ways to login in button)
To authorize with your Apple ID, you will need iOS 13 or above. Besides, you will have to enable two-factor authentication on your Apple ID and sign in to iCloud with the Apple ID that you will use to log in.
# Sign in as a guest
You can join only a public conference (webinar) as a guest. There are multiple ways of doing it: with a QR code, with conference ID or directly from the conference page in the browser.
If you are already signed in to the application, you will need to log out of your account because this feature is available only the authorization page. To do it, go to the Options section and tap on the  button.
# With a QR code
Tap on the  button on the authorization page and scan the QR code displayed on the conference page.
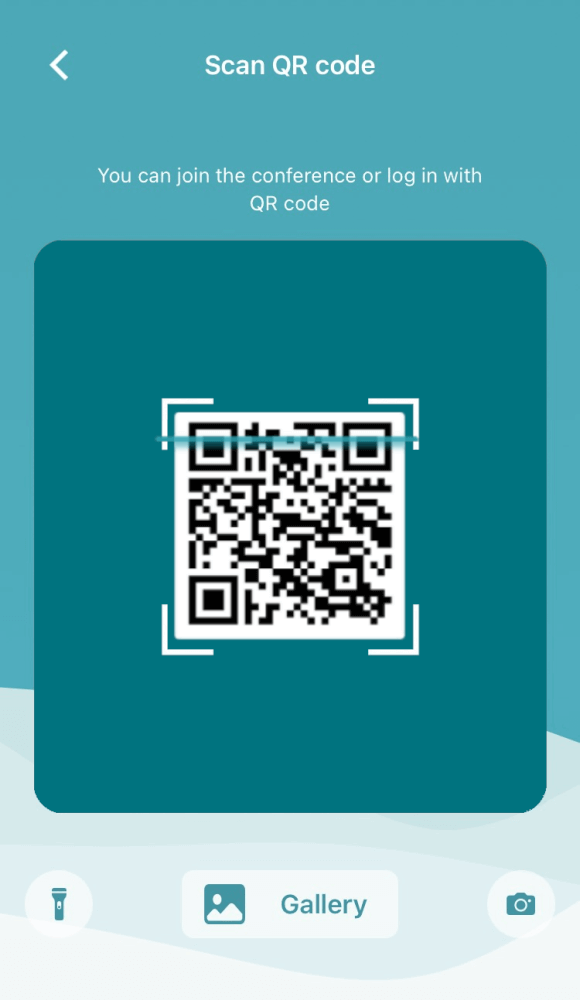
You can also upload the QR code image saved on your iPhone. To do it, tap Gallery and select the photo.
In this way, you can join any public conference without having to connect to a different video conferencing server.
If you want to join a private conference with a QR code, you have to be signed in to your personal area on the conference page.
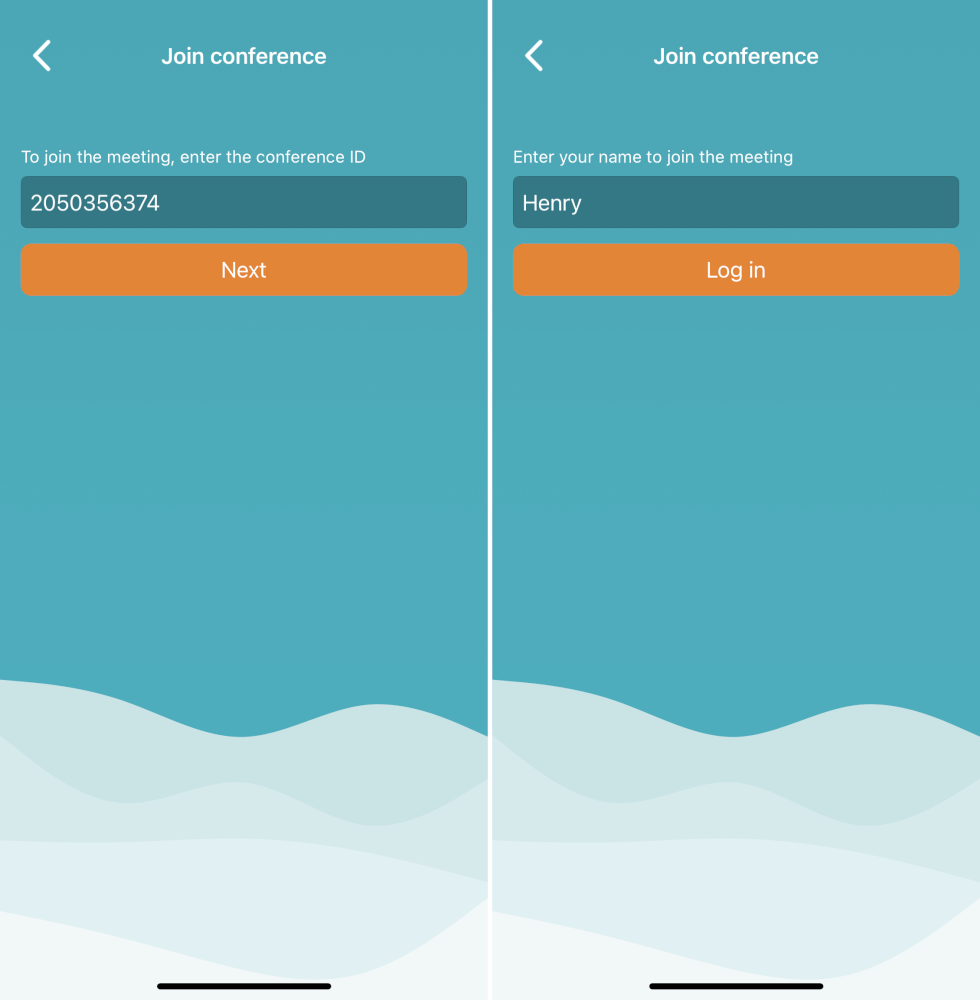
# With conference ID
On the authorization page, tap on the Join conference button. Enter the conference ID without the \c\ prefix. For example, if you have the following ID \c\2050356374@video.company.com#vcs, you will need to type only the digits 2050356374. Enter the correct data and tap on the Next button. Then, enter a guest name that will be displayed in the video layout and tap on the Log in button.
# Connecting to the server
By default, the application automatically connects to TrueConf Online cloud-based service.
To connect to your corporate TrueConf Server instance:
Press the Change server.
Select the TrueConf Server option and specify its IP address or the domain name (e.g., server.company.com) and tap on the Connect button.
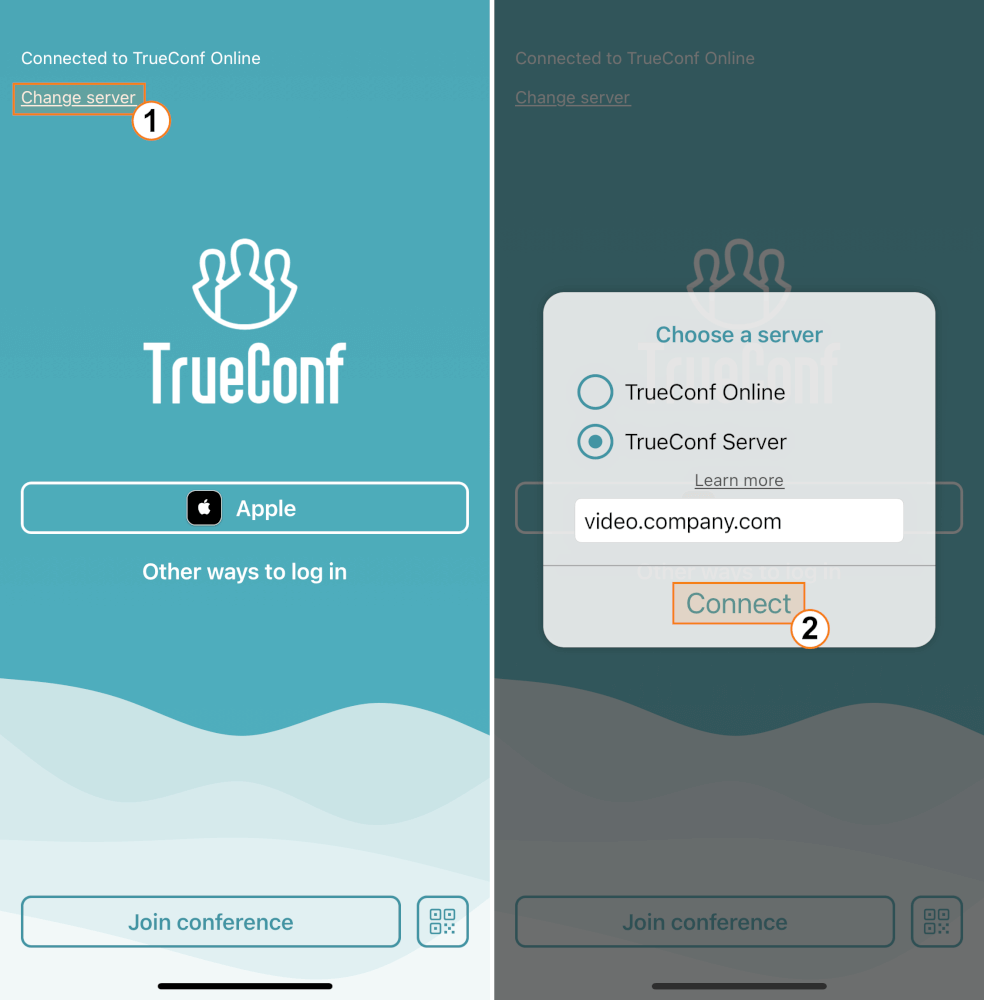
Once the connection is successful, the authorization window will open.
Later, if you need to connect to a different server or to TrueConf Online, go to the Options section, tap on the button and follow the instructions described above.
# Signing in
In the authorization window, enter your TrueConf ID and Password and tap the Next button. If you don't know your personal credentials, please contact your server administrator.
With the help of Face ID/Touch ID, you can enable secure login after the first sign in and avoid manual entering of your personal credentials each time you enter the application. To do it, tap the  or
or  button and confirm the use of biometric authentication.
Please note that if you decline secure authorization with Face ID/Touch ID, your phone password will be used for authorization. To enable secure authorization, go to iOS settings, select TrueConf in the list of applications and activate the switcher Face ID/Touch ID.
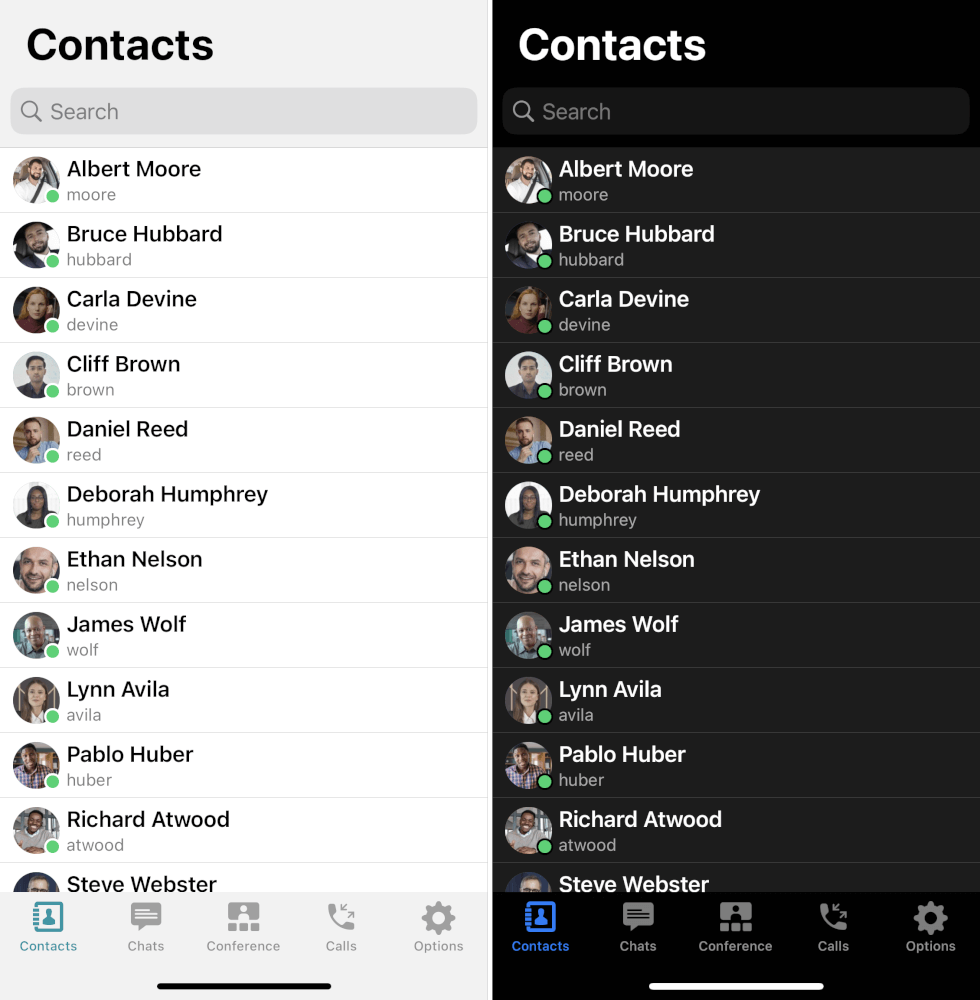
After the successful authorization you can see your address book.
# Setting up the application
# Audio and Video
# Joining without video
When you join calls or conferences, your video is enabled by default. To change this setting, go to Options → Audio and Video and check the Join without video box.
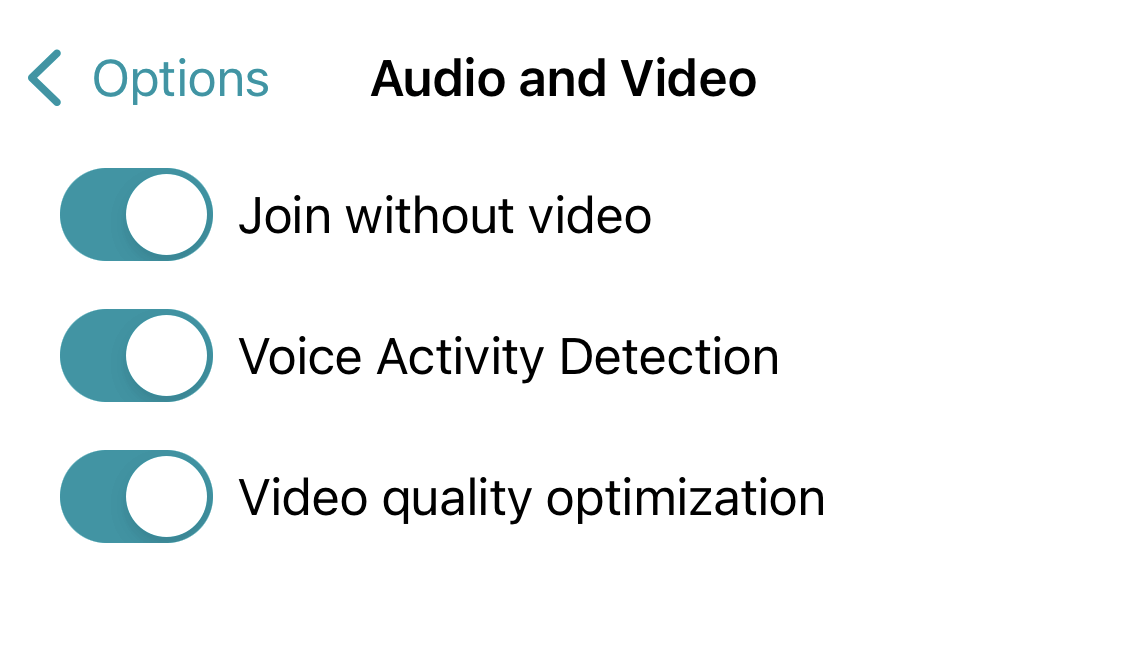
The switcher Video quality optimization is activated by default. In this case the video received during one-on-one calls will have smaller resolution which is needed for reducing the use of device resources and network load.
# Voice activity detection
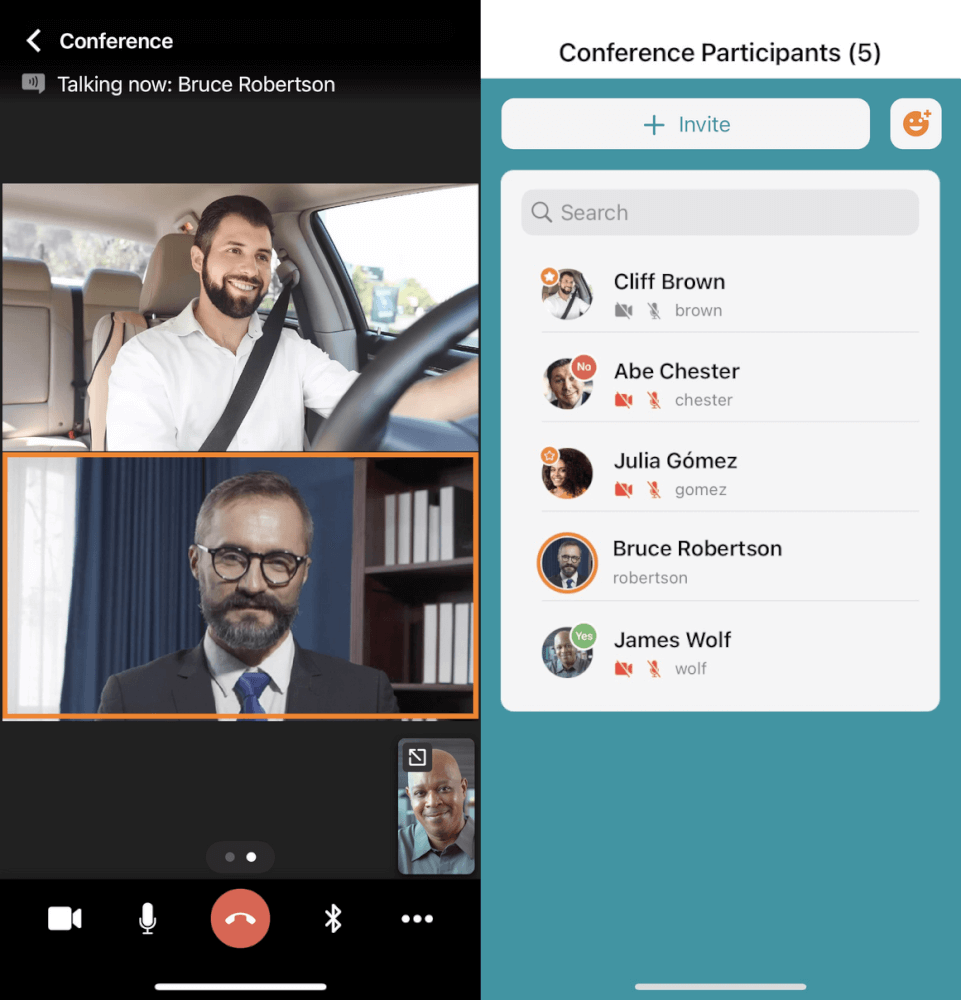
Activate the switcher to allow the application to detect the active speaker, display notifications with this person's name, and spotlight this person in orange in the video layout and in the meeting participant list.
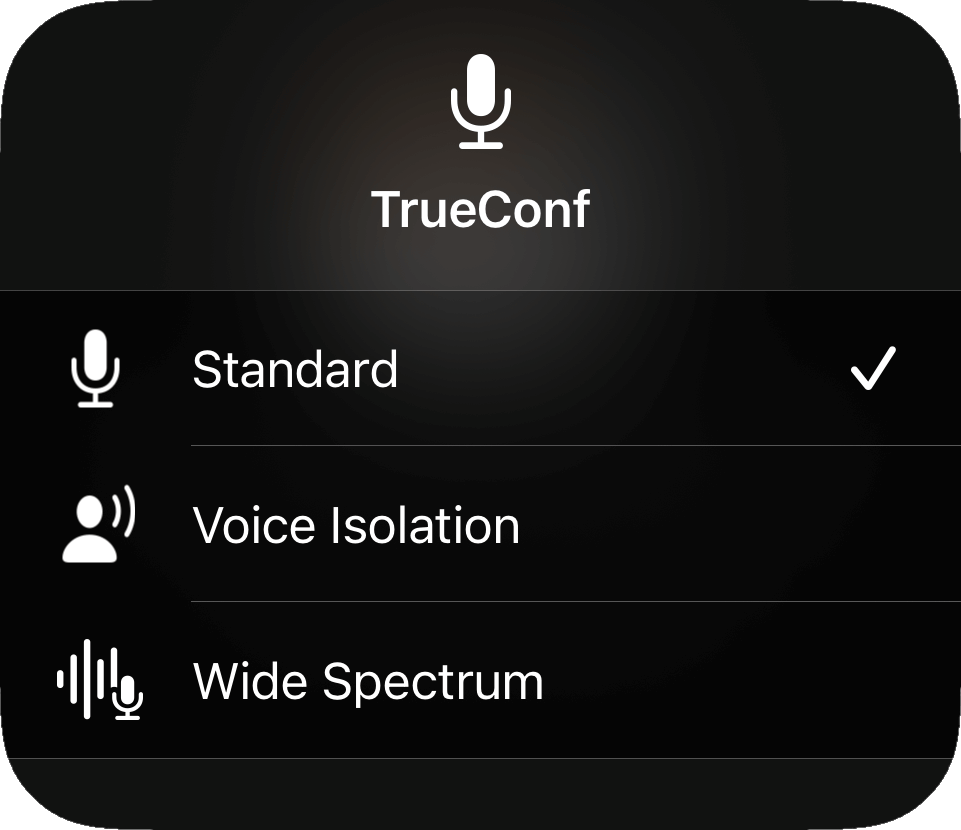
# Audio settings
To enhance your audio quality, we offer different settings to boost audio capture and playback. TrueConf for iOS/iPadOS supports the following modes:
These features are available for iOS 15+ on devices powered by A12 Bionic chip and later.
Spatial Audio — this feature splits audio channels to imitate real-life audio experience. Attendees appear to be speaking from the part of the screen where they are displayed.
Voice Isolation Mode — this microphone operation mode uses machine learning to separate your voice and remove background noise. For example, engine noises outside the window or a dog barking nearby will not interfere with your communication.
Wide Spectrum Mode — this microphone operation mode allows capturing and transmitting all outside sounds. This feature can be useful for immersive online lectures and other use cases when you need to transmit all sounds around you to meeting participants.
This feature is set at the device level. To do it, you need to open Control Centre on your iPhone or iPad, press the  button and choose one of the suggested options to enable one of the microphone configuration modes.
# Notifications and sounds
To enable sound notifications, e.g., incoming call notifications, go to Options → Notifications and Sounds and check the Enable Sounds box.
In-app notification sounds will play if your device is not in silent mode.
# Background blurring
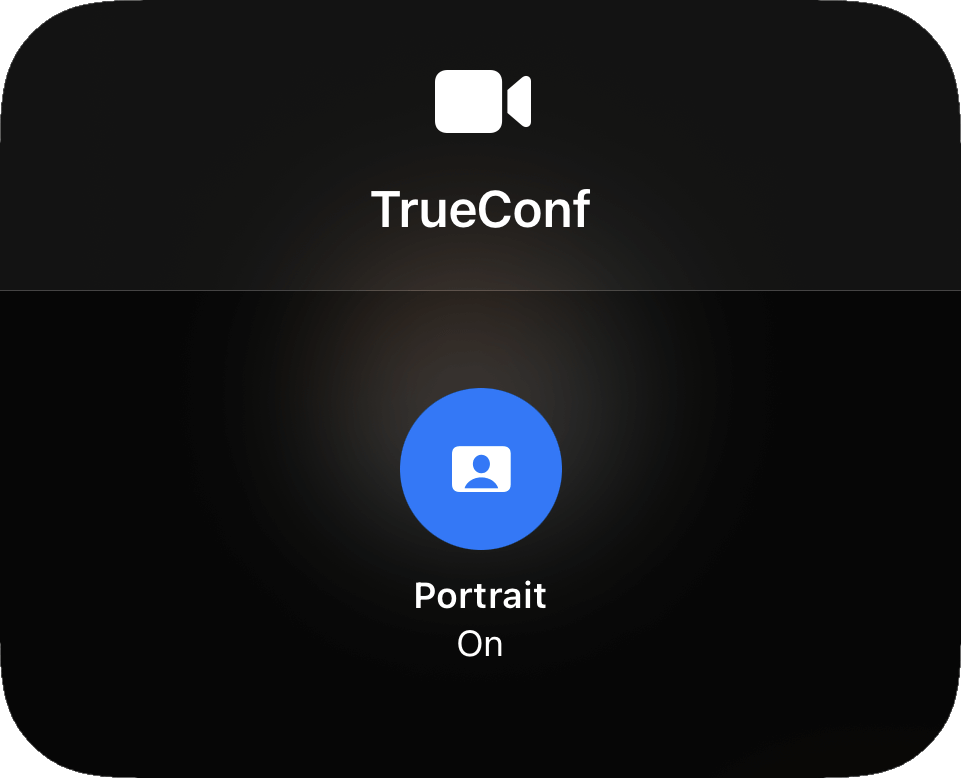
Please pay special attention to the Portrait mode, which allows you to blur your background. This feature can be used in both one-on-one video calls and group video conferences.
Portrait mode can be useful in a slew of situations, e.g., if you need to focus on the task at hand during meetings. Even if you don't work remotely, office distractions can be a problem.
Besides, this feature will be useful in case of remote learning, as the child's room may look unsuitable due to the clutter or bright posters. By blurring the background, they will feel more comfortable at the meetings.
Portrait mode is available for iOS 15+ on devices powered by A12 Bionic chip and later.
To blur the background, take the following steps:
Open Control Centre.
Press the
 button, enable Portrait mode by tapping the
  button. Once the feature is enabled, the button will turn blue:
# Network
If the Direct Connection box (enabled by default) is checked, point-to-point video calls will be routed directly, bypassing the server.
Keep the Check for available servers in LAN when launching the app switcher active to make sure that the application can detect available instances of TrueConf Server in the corporate network.
To view the list of available servers, tap on the View list button.
The Bandwidth Control section enables you to adjust your network settings.
It is also possible to set file transfer limits to make sure that the TrueConf application does not load the network. You can set the channel restrictions for an ongoing conference and for the normal application state.
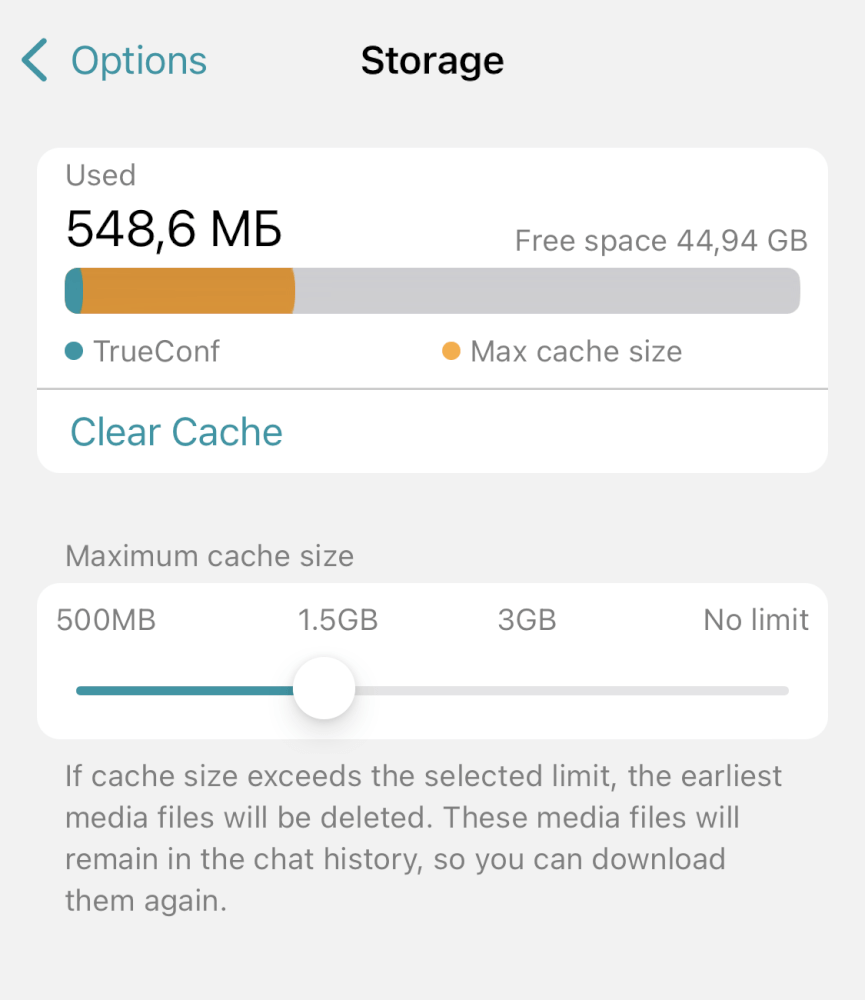
# Storage
TrueConf for iOS/iPadOS caches all media files downloaded on your device. To check or limit the size of cache, go to the Options → Storage section.
To delete cache, tap on the Clear Cache button; otherwise, just select the maximum size so that the application could automatically free up space when the limit is reached.
# Visual styles
In the Options → Appearance section, you can change the application theme.
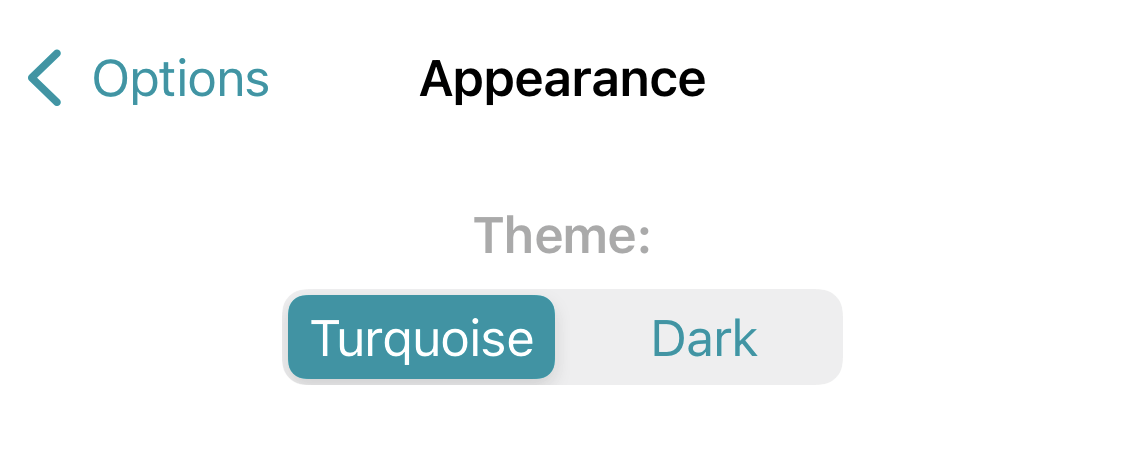
Select Dark to switch the application to dark mode.
If you switch to Dark theme, the application icon will also change and will look like this: ![]() .
.
# Other settings
In the Options → General section, you can change the following settings:
Block incoming calls from the users that are not in your address book
# Hardware video encoding
If other meeting participants cannot see you in their video layout or you cannot see other meeting participants in your video layout, the reason may be the use of H264 codec. In this case, try disabling this codec to fix the problem: uncheck the Use Hardware H264 Codec box.
H264 codec is enabled by default because it is built into iOS at the hardware level and consumes much less resources than the software codec.
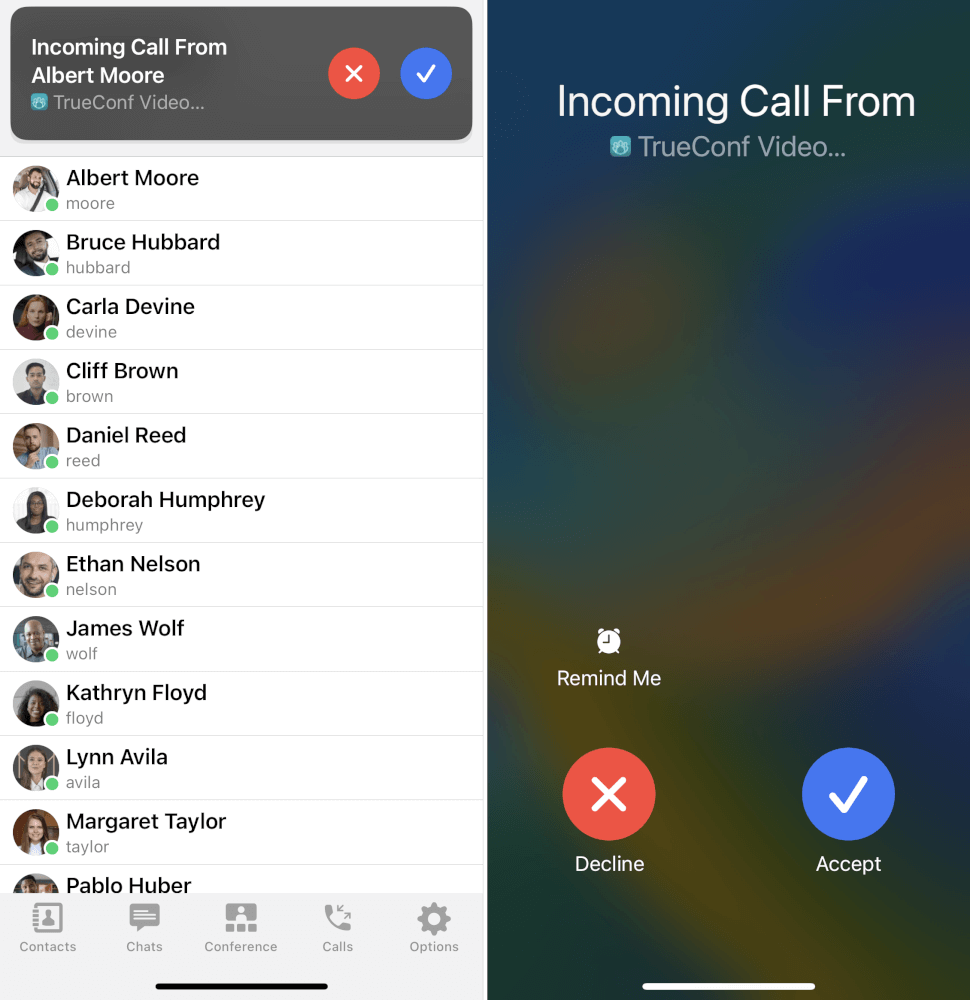
# Accepting calls
Even when your application is minimized, the incoming call notification will appear on your screen. Tap the  button to join the call or conference.
# Offline mode
If there are some problems with connection to the video conferencing server, you will see the No connection status; however, you will still be able to use the application. In particular, you can: