# Administration
This section allows you to configure the TrueConf MCU settings, create users, set access rights, and view the server statistics.
# Real-time monitoring
To view data about server resource usage and check system info, go to the Real-time monitoring section:
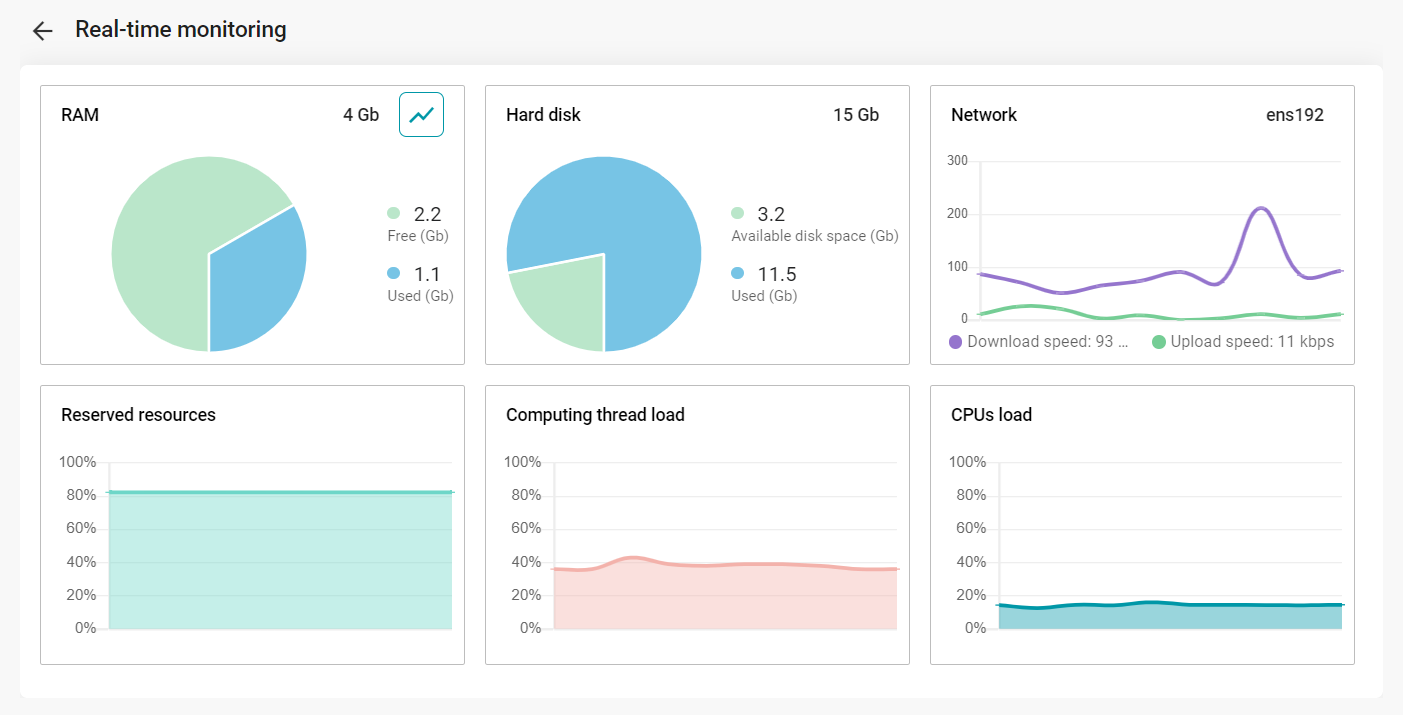
The Reserved resources chart shows total machine resource usage considering memory operation and multiprocessor interaction. The number of reserved resources is a dynamically changing parameter that accounts for all currently performed tasks: transcoding, mixing, recording, broadcasting, layouts etc. Learn more in the relevant section. Chart information display is available after calibration.
# Media files
# Uploaded files
This menu stores images, videos, and PDF files uploaded to the server, for example, to prepare content for a demonstration during a conference in advance.
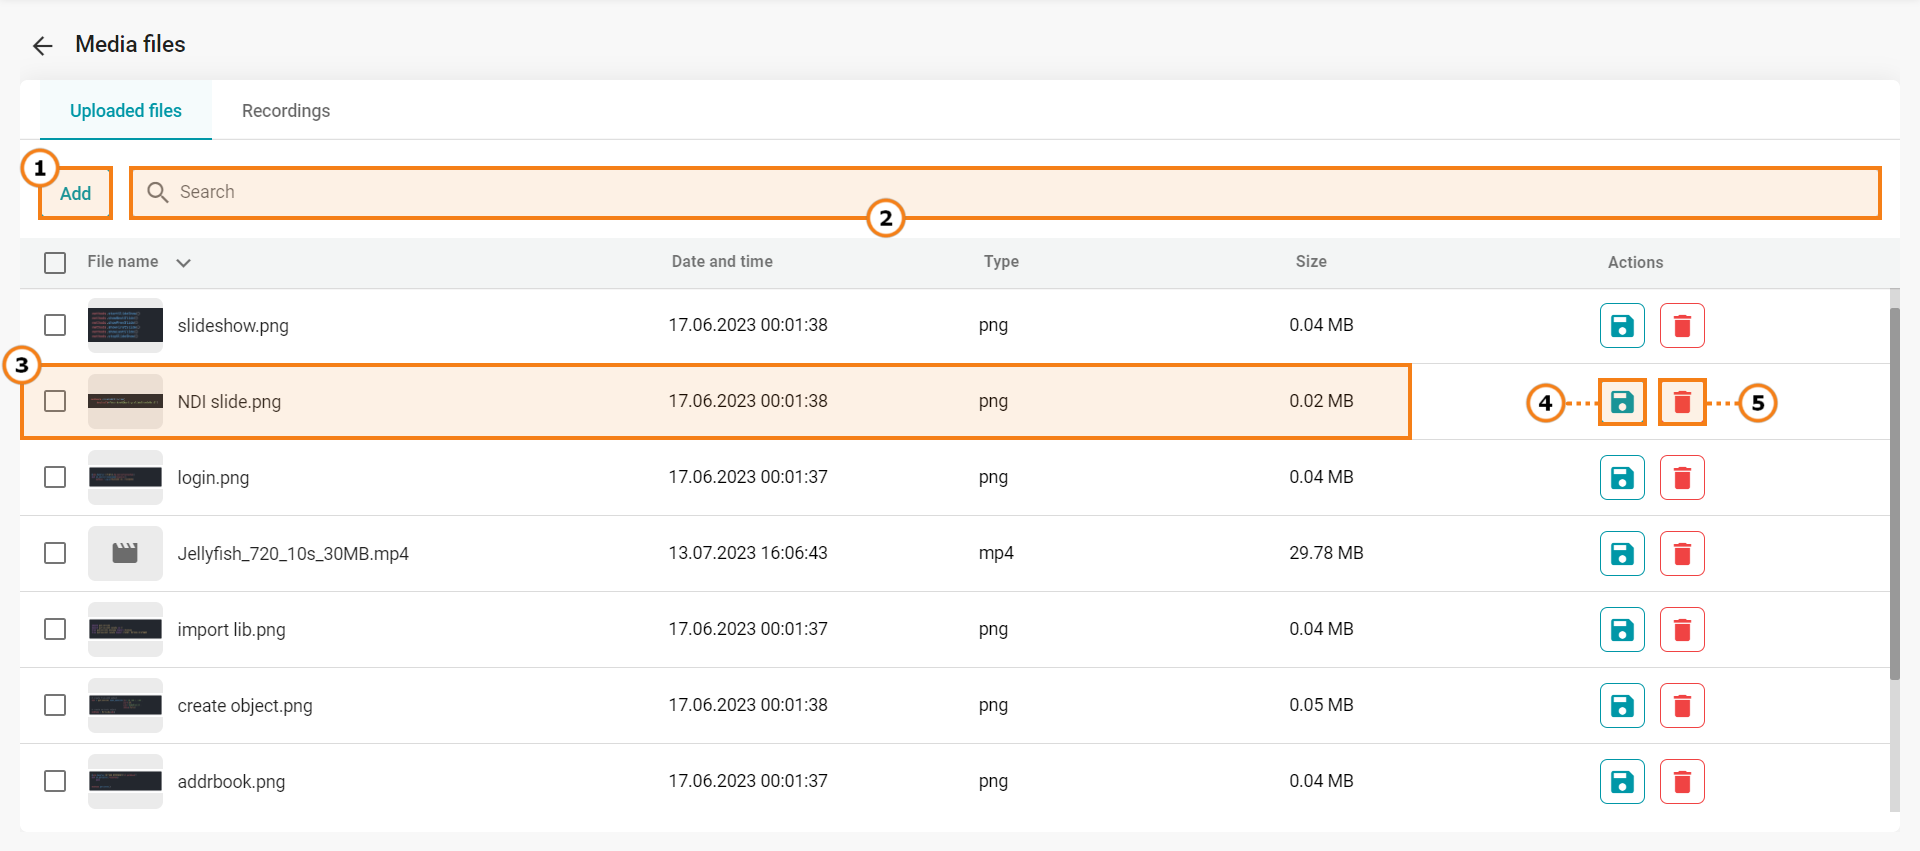
Upload a new file
Search by uploaded files
Check file info: title, upload date, format, and size
Download a file
Delete file
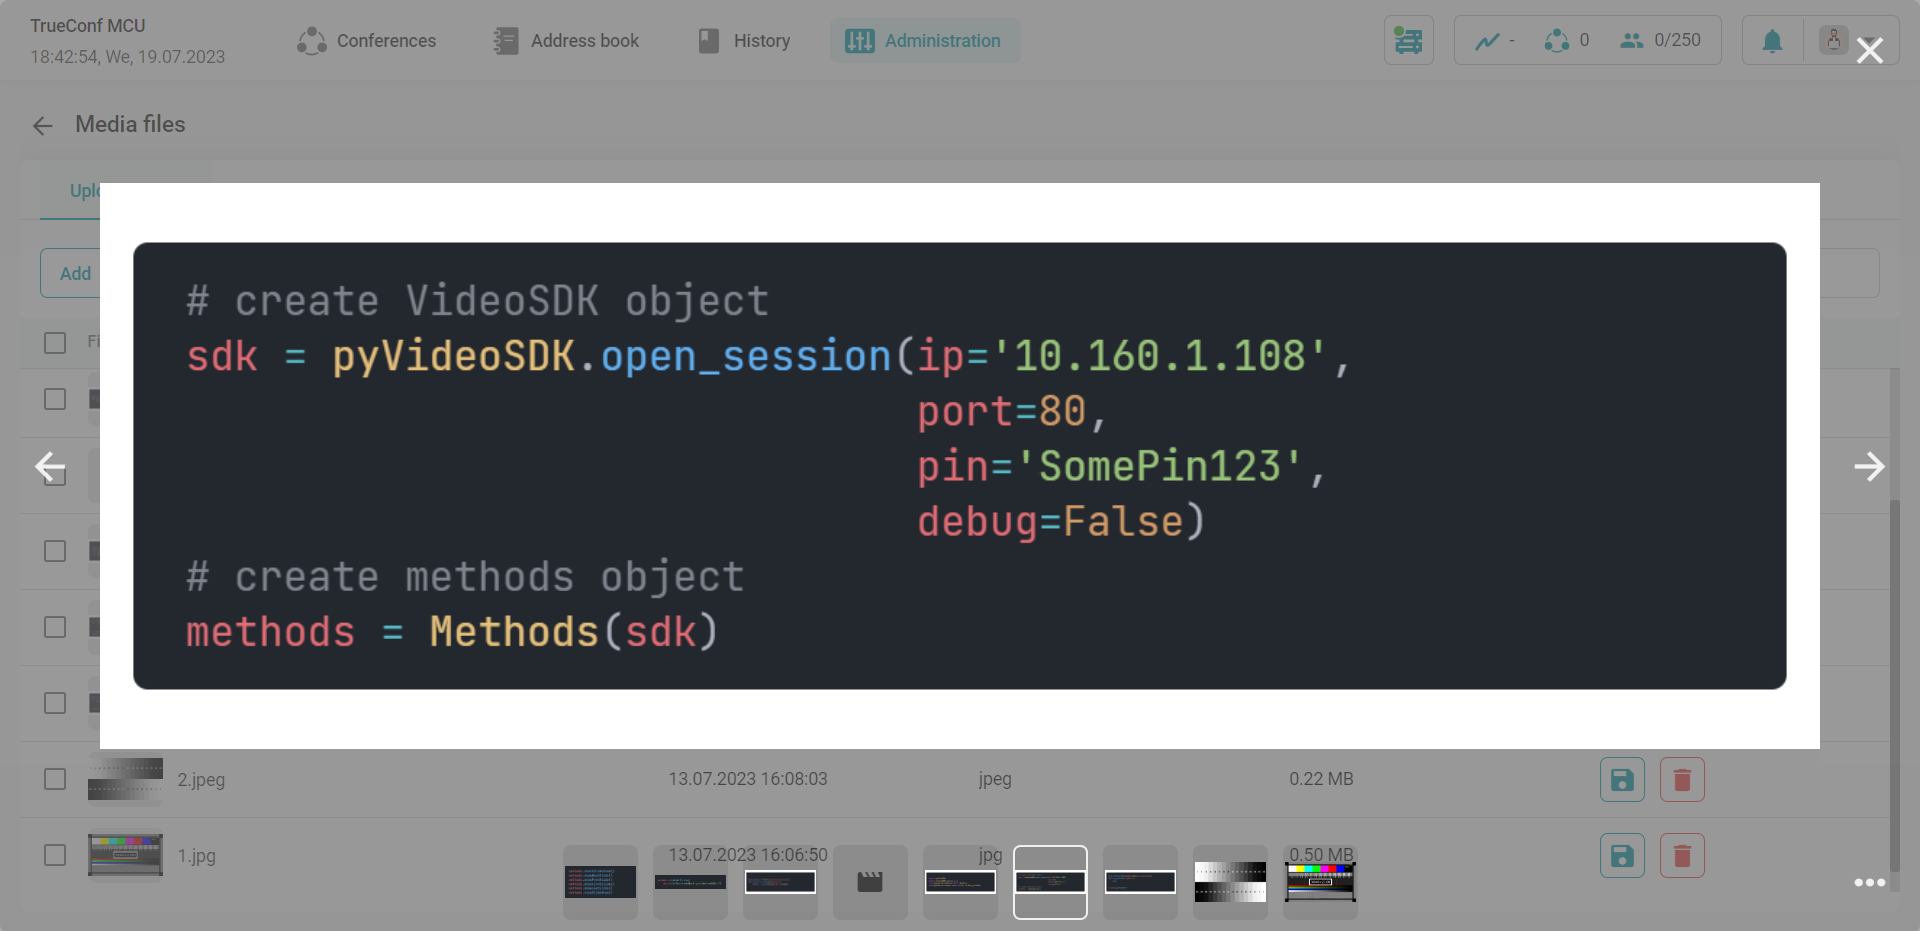
Uploaded files can be previewed in the pop-up window:
# Recordings
All conference recordings are saved in the .mp4 format.
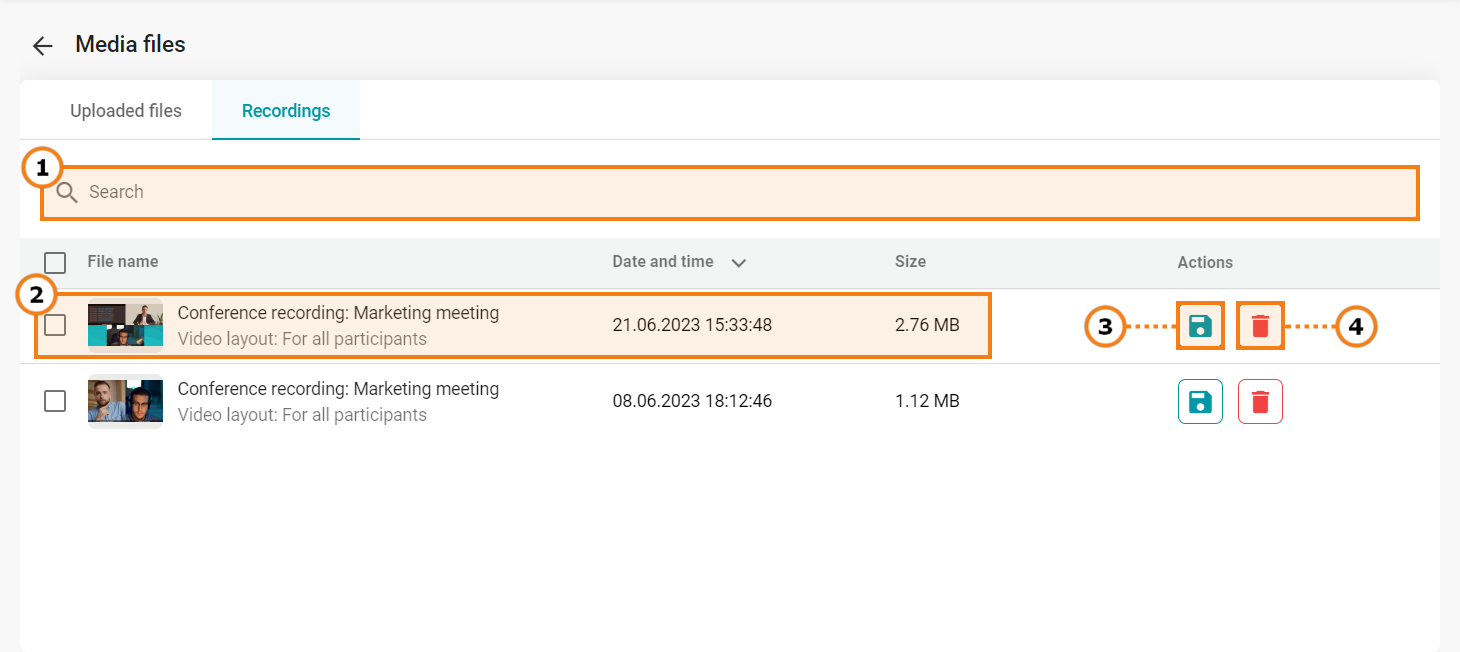
Search for recorded conferences
Check file info: title, upload date, format, and size
Download a recording
Delete a recording
When you click on a recording, a preview window will open (as in the case with uploaded media files .
# Power
On the Power tab, you can restart the TrueConf MCU, reload the operating system, or turn off the hardware server.
# Import/Export
For creating, restoring a backup of data or saving logs go to Administration → Import/Export.
# Database
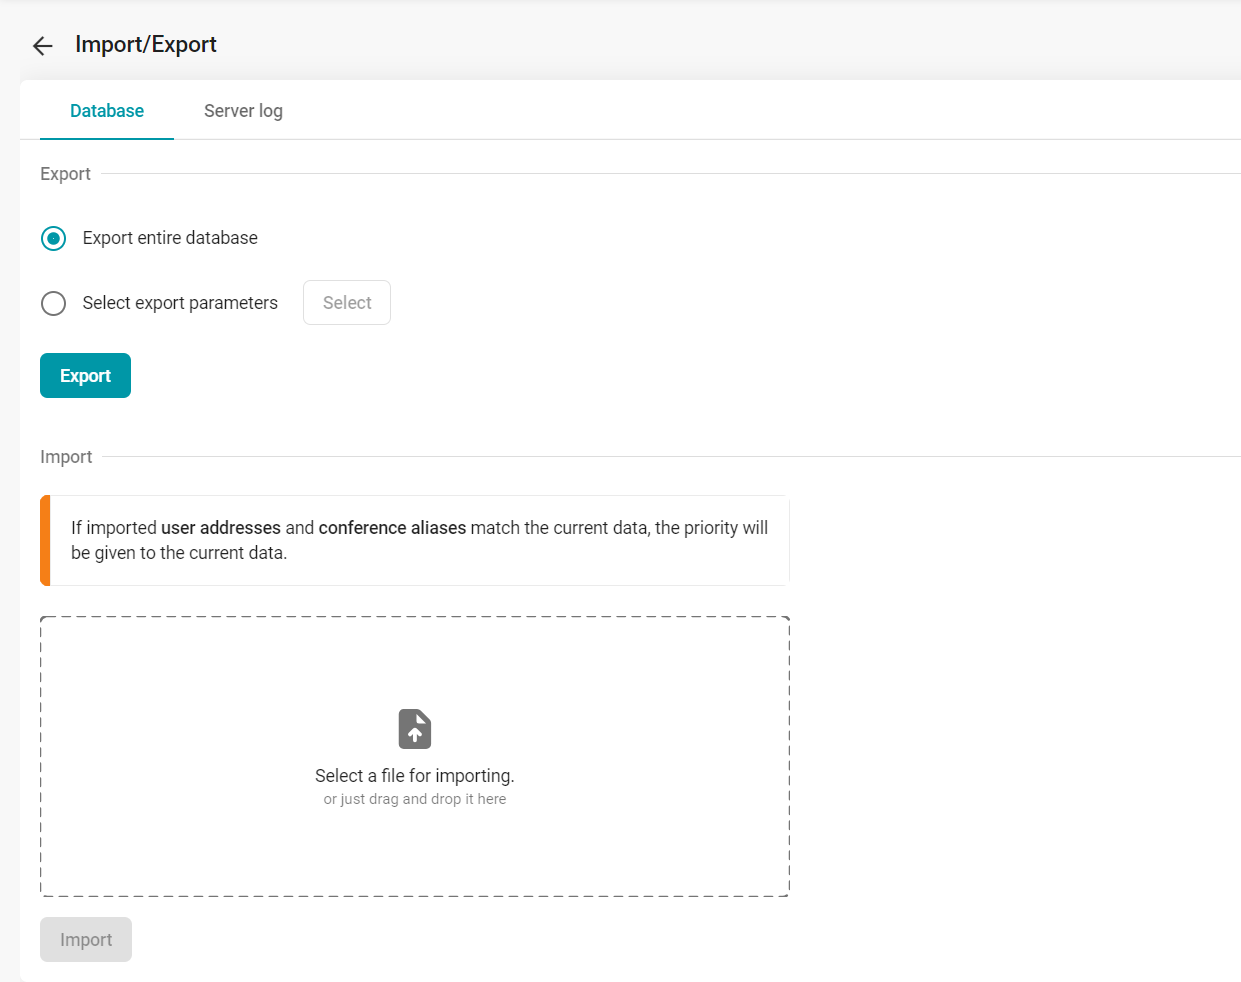
# Export
To unload all data, check Export entire database and press the Export button.
If you only need to export part of the data, check the Select export parameters box, select the necessary data in the window that appears, click the Save button, and then click the Export button to confirm.
# Import
During import, if there's a match between user addresses and conference aliases with the current data, priority will be given to the current data.
To restore data from a backup in .7z format, select a file to import and press the Import button.
# Server Logs
Here you can export logs for submission to the technical support service.
# Reset to Factory Settings
To delete all data, go to the Administration → Data deletion menu and click Set to default.
Resetting to factory settings will result in complete loss of all data, conferences, users, and information on the server, all ongoing conferences will be terminated.
# Date and Time
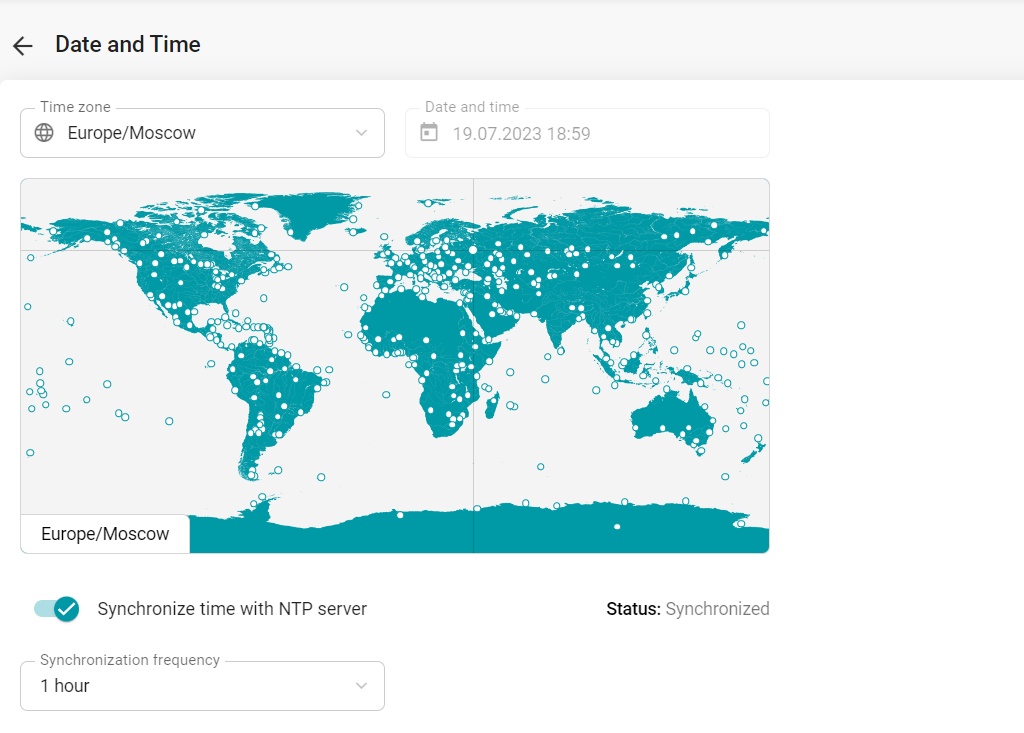
To configure the time, go to Administration → Date and Time. Here you can:
manually set the date and time;
select a time zone from the list or on the map;
synchronize time with an NTP server: set the frequency and several NTP servers for synchronization.
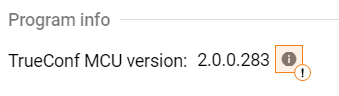
# About the program
You can check the installed version of the TrueConf MCU server in the About menu. For detailed information about the versions of installed components, click the  button next to the TrueConf MCU version line:
The following window with detailed information will open for you:
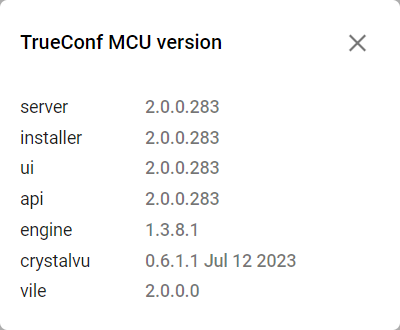
Here you can perform an update of the TrueConf MCU, which is described in detail in the relevant section.