# Connecting Bosch conference system to Weathervane
# About Beyerdynamic conference systems
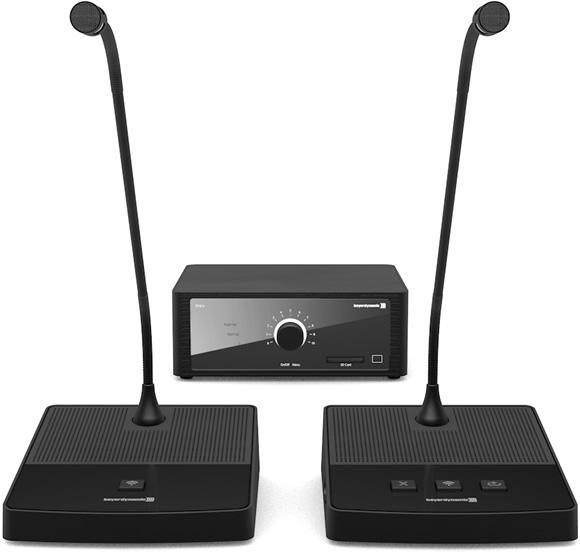
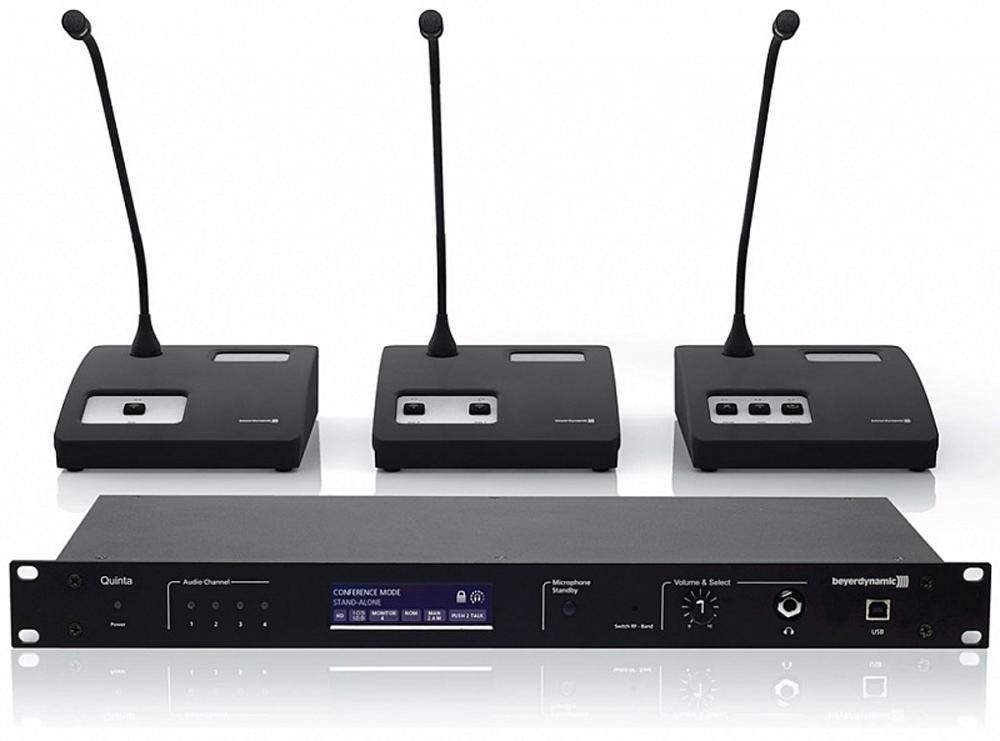
Beyerdynamic conference system is a set of audio equipment that consists of a central control unit and microphone units.
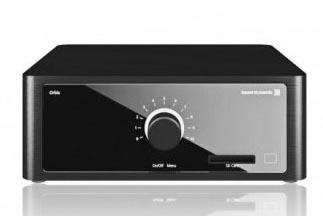
Beyerdynamic Orbis is a wired microphone system. The RS-232 interface is used to connect to a computer.
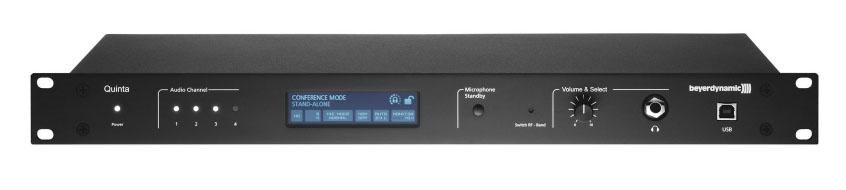
Beyerdynamic Quinta is a wireless microphone system. To connect to a computer, you can use both RS-232 interface and Ethernet connection.
Central control unit is the primary device of the conference system, which is designed to configure the system and manage the conference.
Beyerdynamic Orbis control unit:
Beyerdynamic Quinta control unit:
# Connecting and setting
# Connecting the central control unit
Let's take a look at the required steps to connect the Beyerdynamic control unit to TrueConf Weathervane.
First of all, you need to create a channel for data transfer from the control unit to the computer which transmits information about active microphones. This allows you to activate necessary cameras and set their positions in order to ensure seamless video meetings.
The connection is established with a standard cable to a special connector on the back of the central unit. When using the RS-232 interface, connection to the computer is performed via special Serial port → USB adapter.
# Setting the Beyerdynamic Orbis conference system
This conference system does not require special adjustment. It is ready for use once it is switched on.
# Setting the Beyerdynamic Quinta conference system
This wireless microphone system does not always initially establish connection with wireless microphone units. The reason is that the central unit can be configured for different types of rooms (Room Combining), which are marked as A, B, C, and D. If the central unit settings differ from those in the microphone units, the connection between the central control unit and the microphone unit will not be established.
# Checking the Microphone
The procedure for checking and configuring microphones is as follows:
Turn on the power of the central unit using the tumbler on the rear panel.
Take a microphone unit and press the activation button
 .
.Make sure that the green LED on the back of the microphone is active, indicating that the battery is charged. If the lights are red, the microphone unit battery needs to be charged.
After pressing the activation button, it will blink red first (attempt to establish connection with the central control unit) and then white (connection established successfully).
If the activation button blinks white, turn off the microphone by pressing and holding the activation button and proceed to the next microphone (step 2).
If the activation button blinks red anyway (connection to the central unit cannot be established), change the settings of the central unit Room Combining required for the connection (step 7).
Press and hold the volume knob on the central unit for 5 seconds. The main menu will be displayed on the central unit screen.
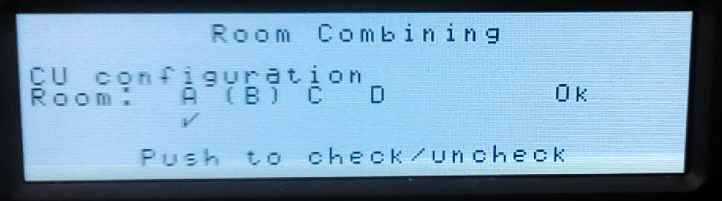
Turn the knob to select Room Combining and press it. When the mode selection submenu appears, press the knob again. You will see a menu for selecting A, B, C, and D room types. By rotating the knob, you can change the current selection, which is highlighted in brackets. By pressing the knob you can activate or deactivate the current position. The active positions are indicated by a check mark:
To deactivate current active positions, select the desired position by rotating the knob and deactivate it by pressing the knob. The position will be unchecked.
Activate and deactivate each of the possible positions one by one. When the position is active, pay attention to the microphone unit. If its activation button blinks red, the selected position in the center unit Room Combining does not fit in with the microphone unit settings. Blinking white button indicates that the connection has been established and the correct setting has been found. If the button stops blinking at all, the microphone unit has been turned off by timeout without being able to establish connection with the central unit. It should be switched on again by pressing the activation button. Please note that microphones can establish connection in several Room Combining modes. Therefore, you should check each one individually and set the possible Room Combining settings for each microphone.
Check all microphones in the same manner by going to step 2.
To complete the central unit configuration, select positions A, B, C and D in Room Combining where all microphones can be connected to the central unit.
# Configuring the microphone modules
If during the previous Room Combining settings it turns out that it is impossible to select a single position that would fit all microphones, you need to change the Room Combining settings stored in the microphone modules. This can be done as follows:
Press and hold the volume knob on the central unit for 5 seconds. The main menu will be displayed on the central unit screen.
Turn the knob to select Room Combining and press it. The mode selection submenu will be displayed. By turning the knob, select the module configuration mode and then press the knob again. You will see a configuration menu that allows you to select Room Combining settings and send them to the microphone unit.
Select the required position and send the settings to the microphone unit.
# How to identify IP address
To access the central control unit of the Beyerdynamic Quinta via Ethernet, you need to identify the IP address assigned to the device. To do this:
Press and hold the volume knob on the central unit for 5 seconds. The main menu will be displayed on the central unit screen.
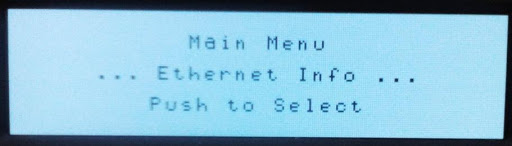
Turn the knob to select Ethernet Info and press the knob. You will see information with parameters automatically assigned to the device:
# Setting TrueConf Weathervane software
To configure the TrueConf Weathervane software, go to Tools → Settings menu and select the required conference system in the Conference system section.
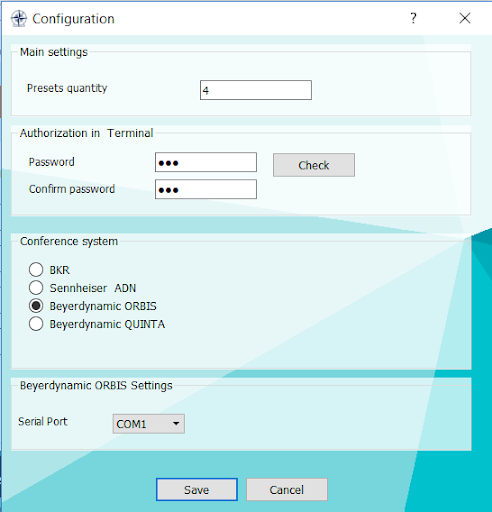
For the Beyerdynamic Orbis conference system, please specify the Serial port through which data will be exchanged with the device in the settings window:
When selecting a Beyerdynamic Quinta conference system, please specify how you want to connect the device to your computer:
via Serial port: in this case select the appropriate port.
via Ethernet: enter the IP address assigned to the central unit of the conference system.
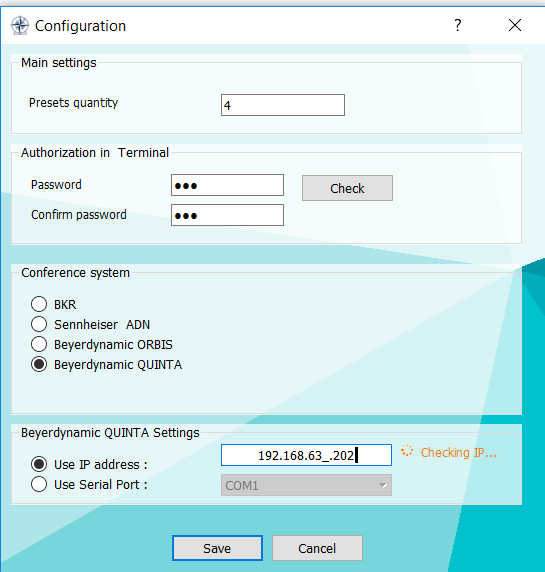
If you have entered an IP address, the program will check the connection to it and display the corresponding message:
- in case the check is successful:

- if there's a connection error:

After you have finished entering the required values, save them by clicking the Save button in the settings window.